
 You Will Need: Blank Cards  //  Pens (Le Pen or Sharpie)  //  Matches
If you follow me on Instagram, you’ve noticed I’ve taken up calligraphy as a new hobby and I’m loving it! I find it so enjoyable to just sit and practice after a long day at the office before I make dinner and sit down to start on blog and Windy City Blogger Collective work. After some late night pinning last week, I stumbled upon a great idea for a homemade Valentine’s Day card and was so excited to finally get the cards to sit down and give it a shot!
There’s nothing quite like a handwritten note. I’ll be talking about this a bit more next week, but my favorite Valentine’s Day card of all time was one that was handmade – the thought and effort that goes into it is so sentimental for me. This year, I decided to try my hand at making my own now that I have gotten more calligraphy practice.
I decided to create two cards: one is for those of you who want to try and make a more calligraphic and pretty version and the second is even male-friendly. All you need is a matchbook, card and pen – no pretty handwriting necessary!
Steps for Card #1:
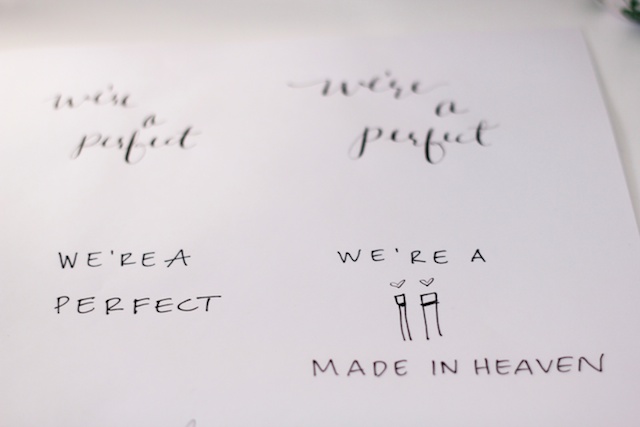
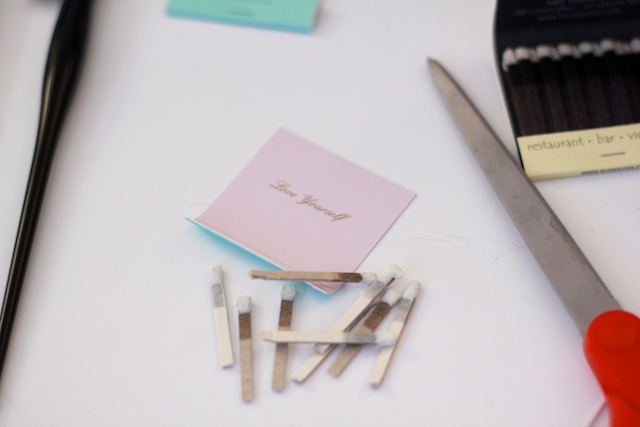
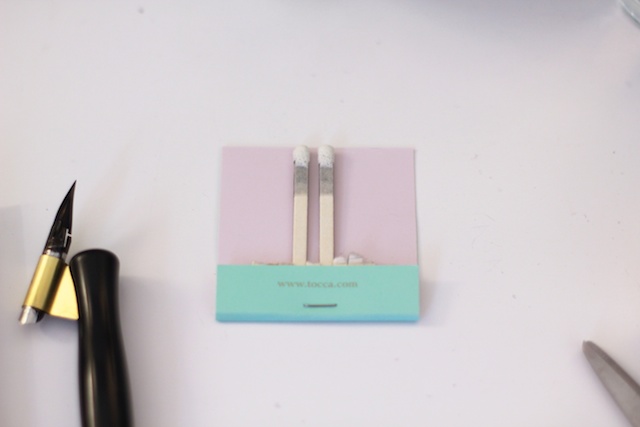
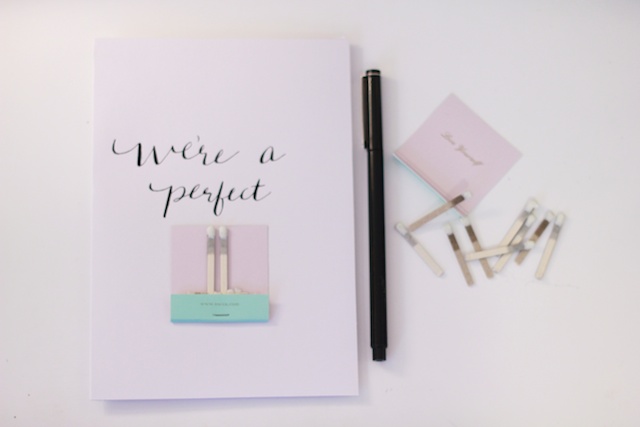
- Decide what you want to write – I recommend practicing a few times on a blank sheet of paper
- Cut off the flap of the matchbook so that you only have the flat side where the matches are tucked in
- Rip all but two matches out of the matchbook and make sure they’re side by side (you could choose two that are off center for something a little different)
- Write out your message on the card!
- Use glue or fold over pieces of tape and adhere the matches to the card below your writing
- Ta-da! All finished.
Steps for Card #2:


- Decide what you want to write – I recommend practicing a few times on a blank sheet of paper
- Write out your message on the card using all caps and space the words out a bit
- Take some of the ripped off matches and put glue on the back of them
- Center the matches in the middle of your writing and push down
- Use a q-tip to wipe away excess glue once you push down on the matches
- Ta-da! All finished.
G I V E A W A Y
For one special reader, I’m going to send you the first card with an envelope for you to use for someone in your life and there will be a special treat inside!
a Rafflecopter giveaway
Enjoy this simple DIY and shoot me a message or tag me if you end up trying it out yourself!

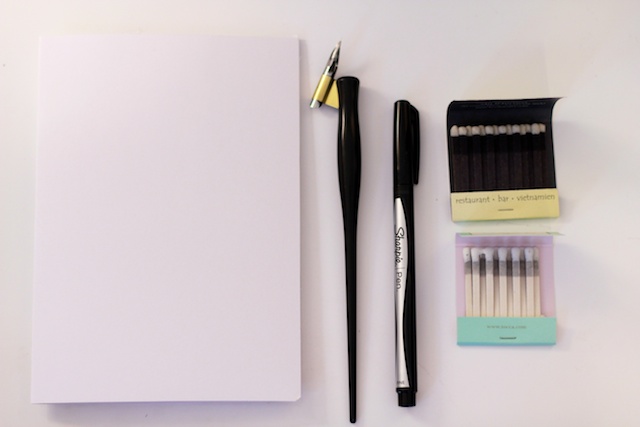

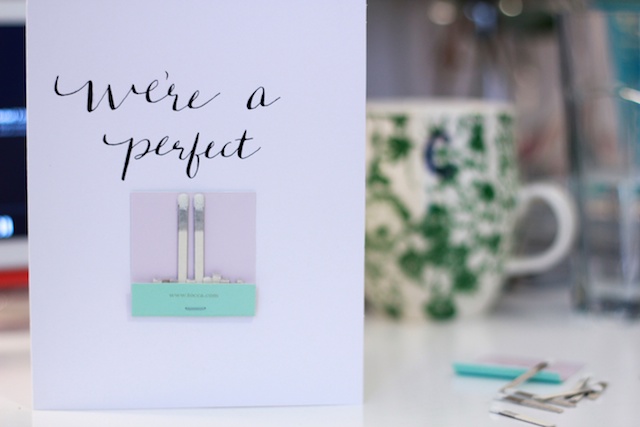


Aww these are cute.
How cool! What made you get into calligraphy? How’d you decide what tools to purchase? I would definitely enjoy it…I should do some research and look at getting some equipment.
Cute idea!
Thanks Lea! :)
Such a cool idea!
Thank you!
I love how unique and quirky these are! I definitely love the idea of DIY over store bought <3
Cristina Marie
Me too, glad you liked it!
This is so adorable! What a super cute DIY and you are totally going to have to teach me calligraphy!
Thanks Monica! Yes it’s happening :)
These are so unique and adorable! I love how you used the matches!
Thanks Lindsay! :) Great seeing you last night!